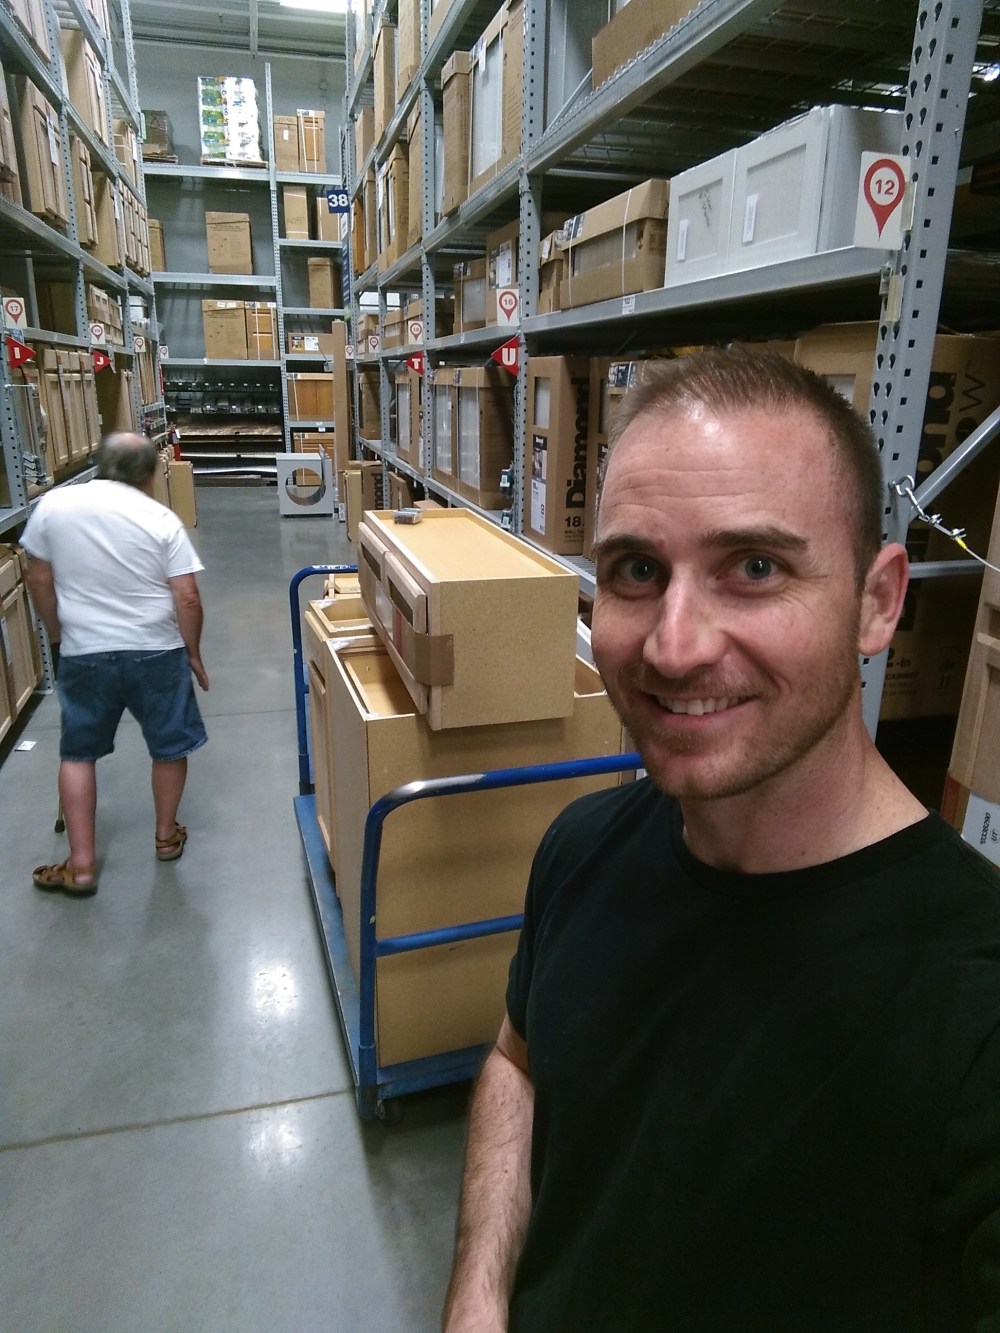
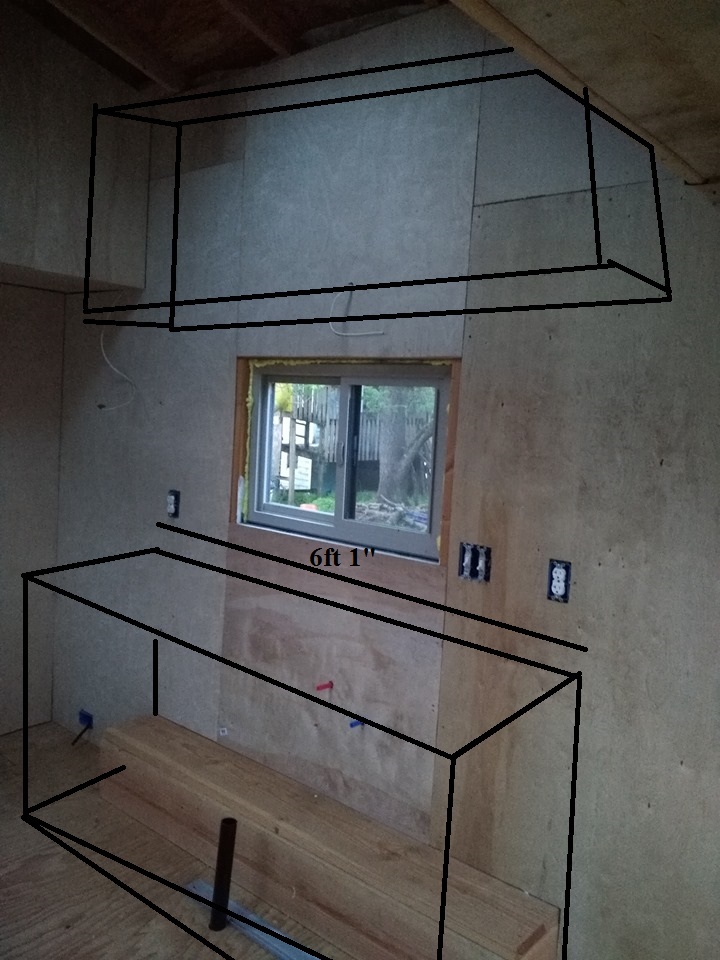
The quote for the custom cabinets I wanted came back around $2500… so that definitely wasn’t gonna happen. I went to the local box store and looked at their in-stock options. I had a specific amount of space I needed to fill, and could put together something from the options they had available.
Unfortunately my preferred box store didn’t had what I needed in stock, luckily for me the competing home improvement box stores always seem to locate themselves right next to one another… so I went in there instead.
You’ll notice I don’t name the stores, because I’m obviously holding out for a sponsorship #sellingout
Seriously though I hate this second store. If their chain isn’t out of business in the next 5 years I will be disappointed. They make it as difficult as possible for me to buy stuff; Between them making it impossible to navigate their store with a cart, and the fact that I have to practically beg them to take my money when I need to order something. #firstworldproblems
Back to the project.
As indicated below, I used a lot of the latest and greatest technology in the planning of this build.
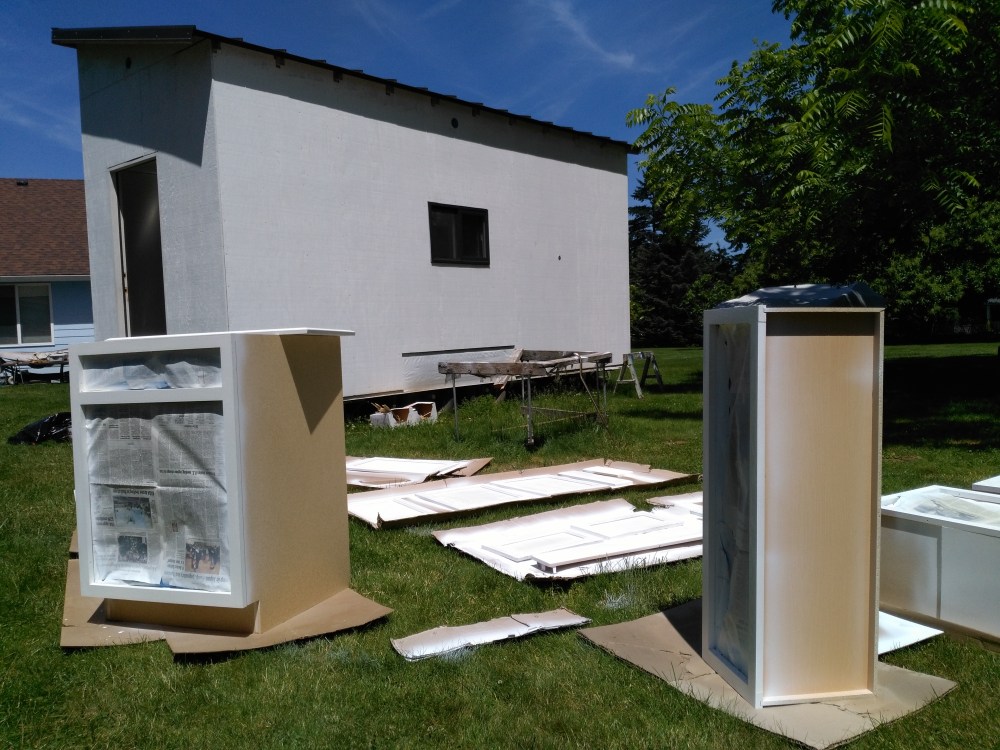
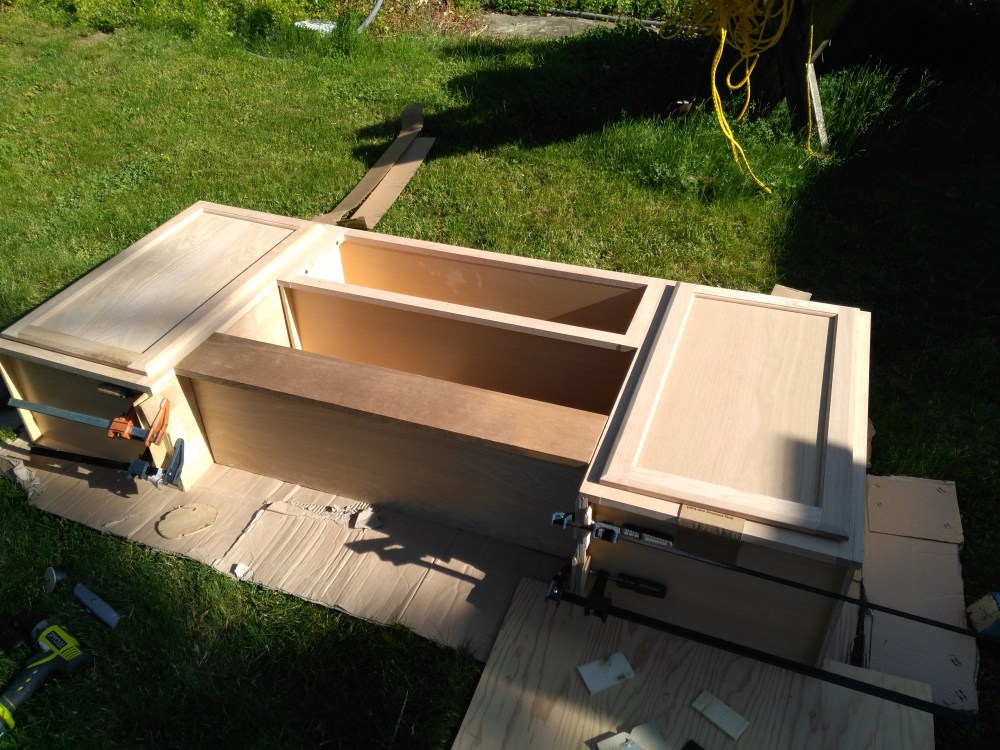
We cut the bottom rear corners of the cabinets off so that they would fit around the wheel well in the trailer. Then used some of the leftover birch plywood from the interior walls to craft facing boards for the exposed sides of the cabinets (straight from the store they are just particle board).

I used a spray gun to paint them white. One key note here is not to use a primer that is latex based, and a paint that is oil based. The water in the paint causes the wood grain in the cabinets to raise up and just look weird. So I had to sand it out and recoat it several times. What should have taken 1 day, ended up taking several because as the old verbiage says;
“There are two ways to do a job; the right way, and again.”
With the help of Mr. Sun the paint dried relatively quickly and we were able to install them inside the house.
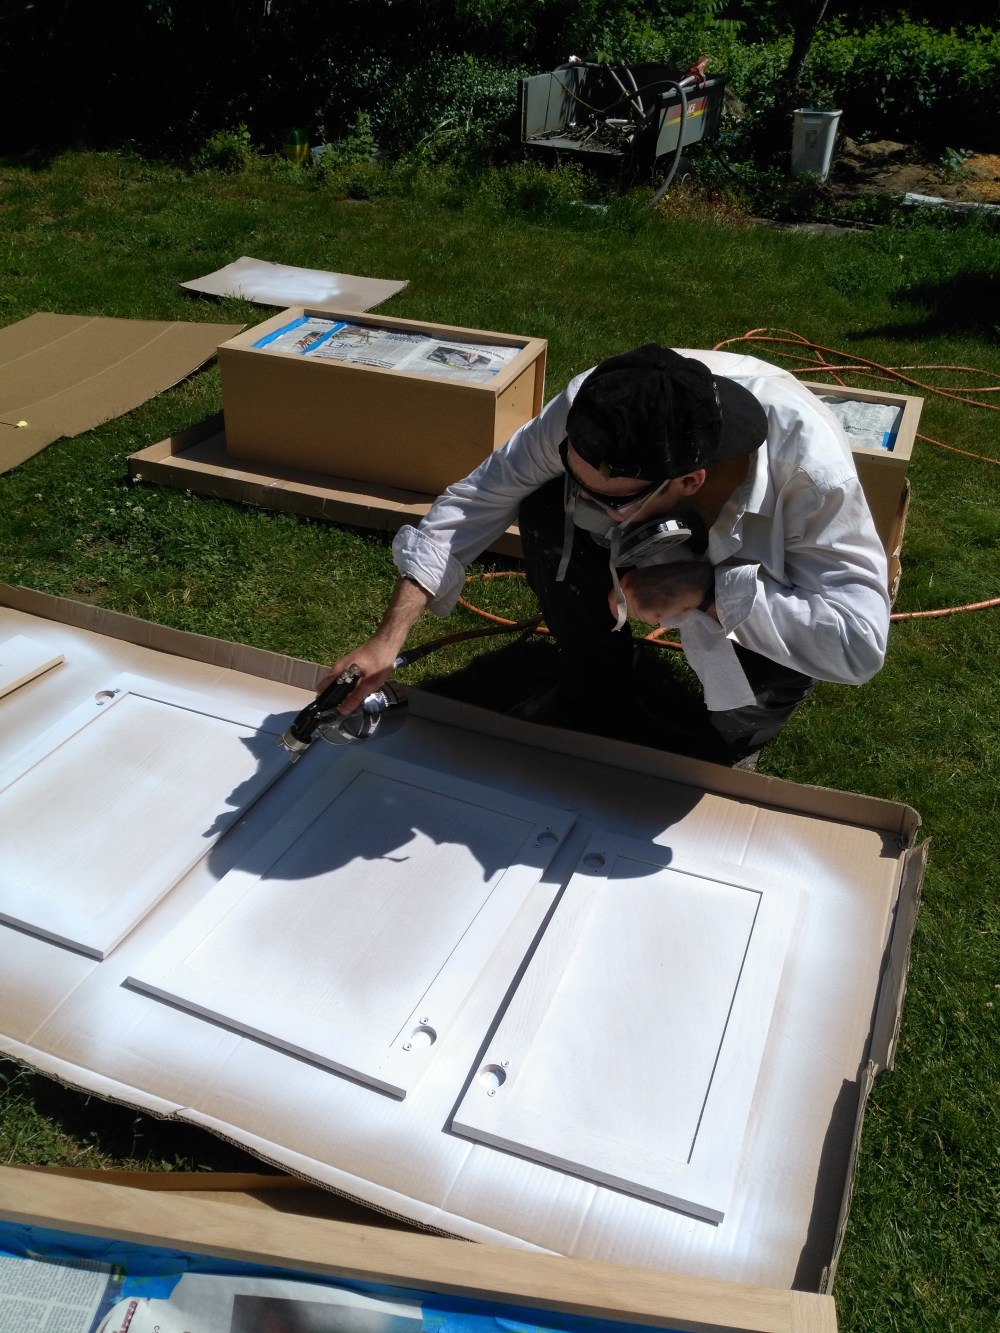


After looking at all those pictures you’re probably thinking, “Good thing they hoarded all that cardboard,” and you’d be right. We used the cardboard from the appliances and cabinets as our make-shift overspray catch system.
It is worth noting that this project created a lot of trash. Appliances, shower doors, etc. all get shipped with a ton of packaging. Not super proud of that, but it is the nature of our current building process.
I did attempt to go to our local repurposing store. Unfortunately the prices are not that great, and it gives you odd shaped sizes that you now need to work into your build. Designing around a small space is tricky enough.
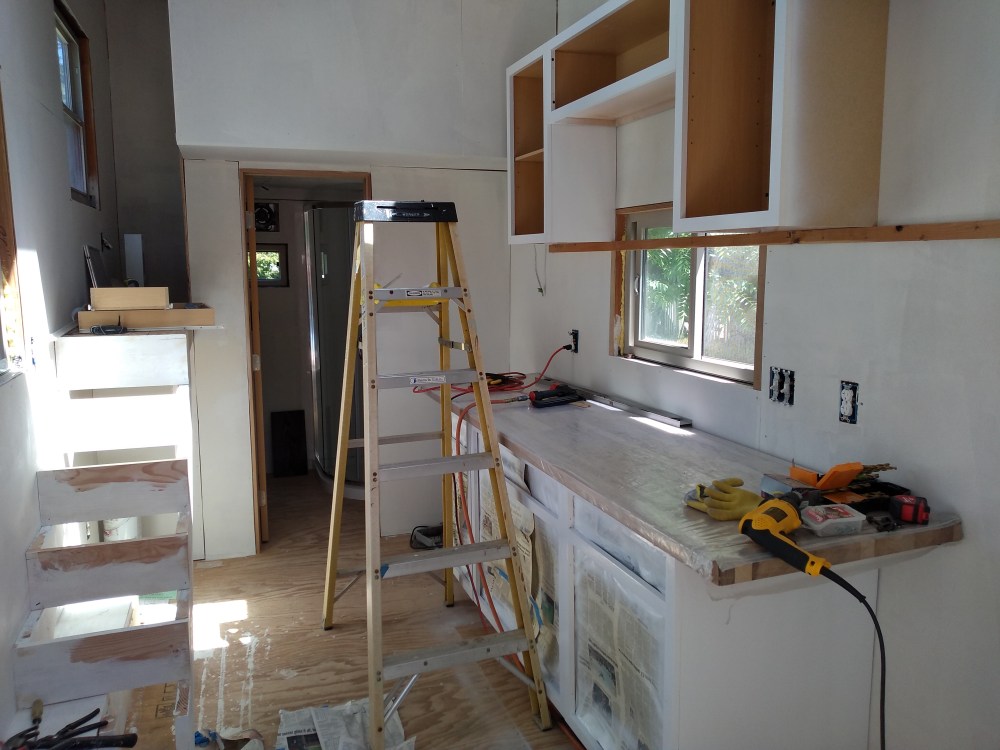
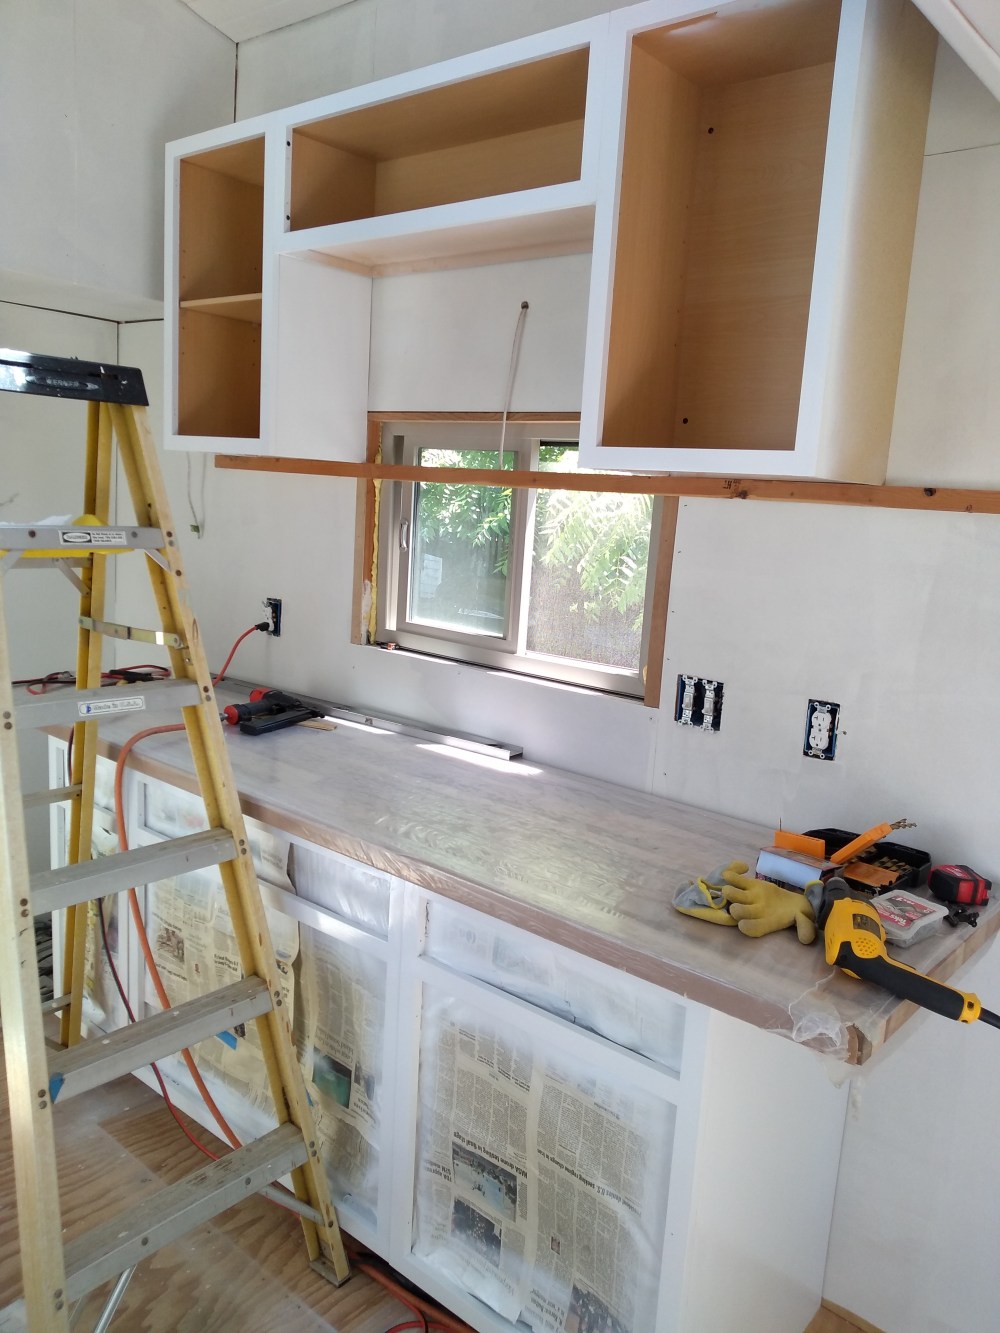
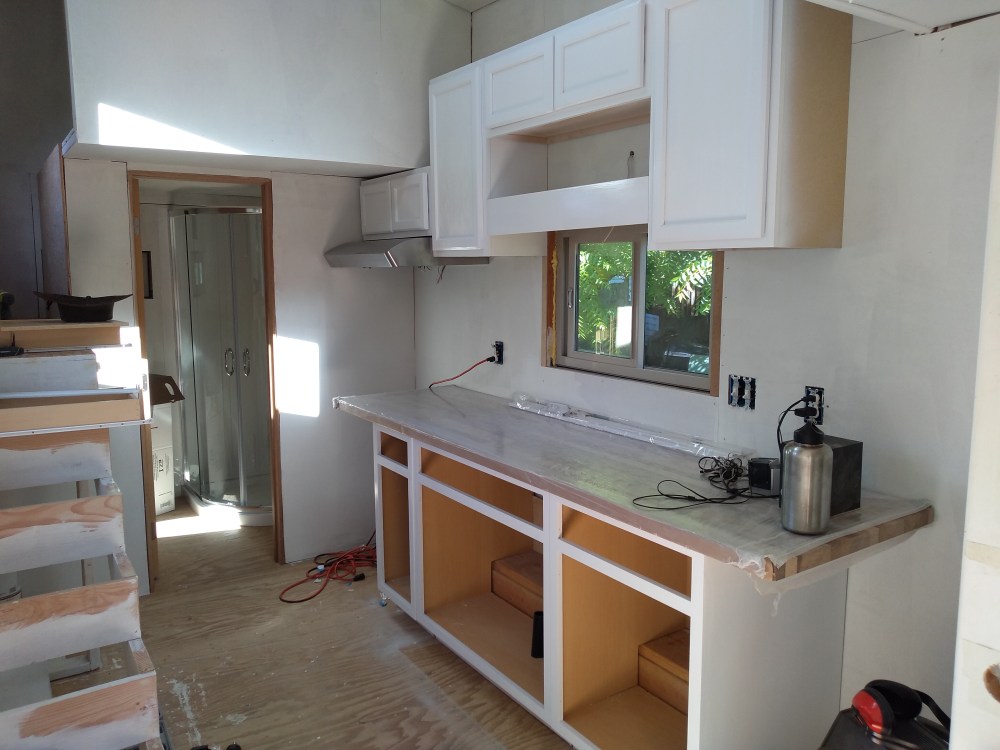
I was very happy with how the house was coming together!
With the cabinets in place I could begin working on the kitchen countertop.
You can see a video of my build below.
