
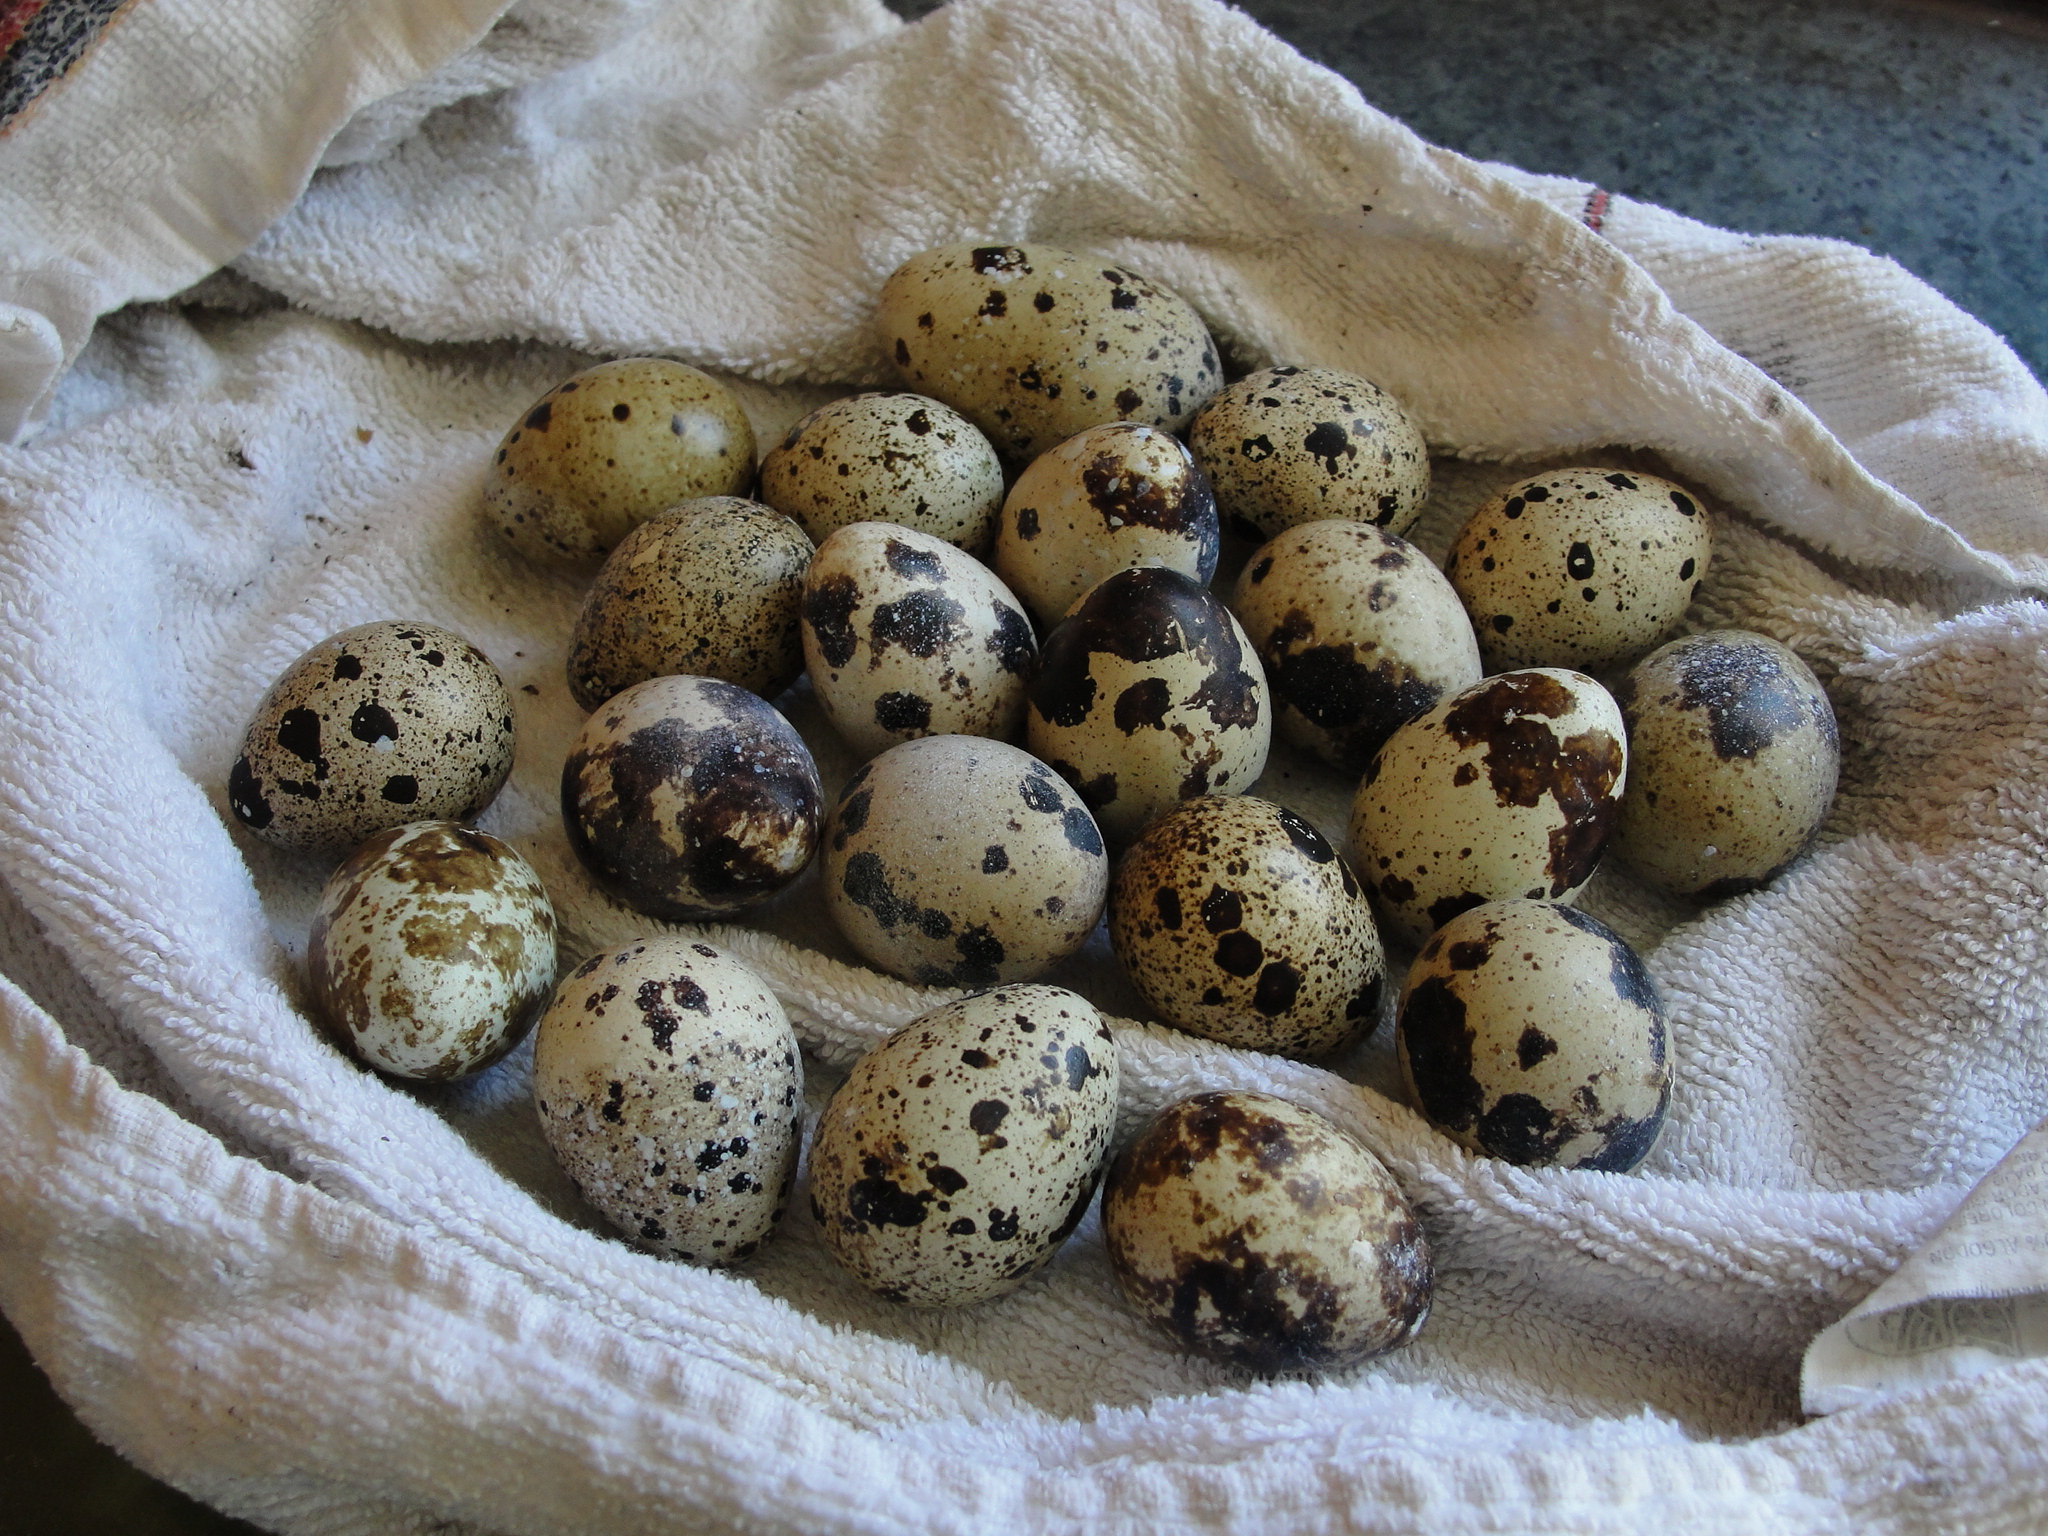
I like to take my projects full circle through the life cycle. I bought these quail a few days after they had hatched. The plan is to hatch new chicks here at the farm to get back to my starting point, otherwise this wouldn’t be a sustainable food source.
These quail are extremely domesticated so they will not hatch their own eggs. This means hatching the eggs will require an incubator to keep them at the appropriate temperature and humidity.
Store bought incubators start at about $100. This is an experiment for me, not a commercial operation so I couldn’t justify that expense PLUS I just like to build stuff. That’s part of the fun!
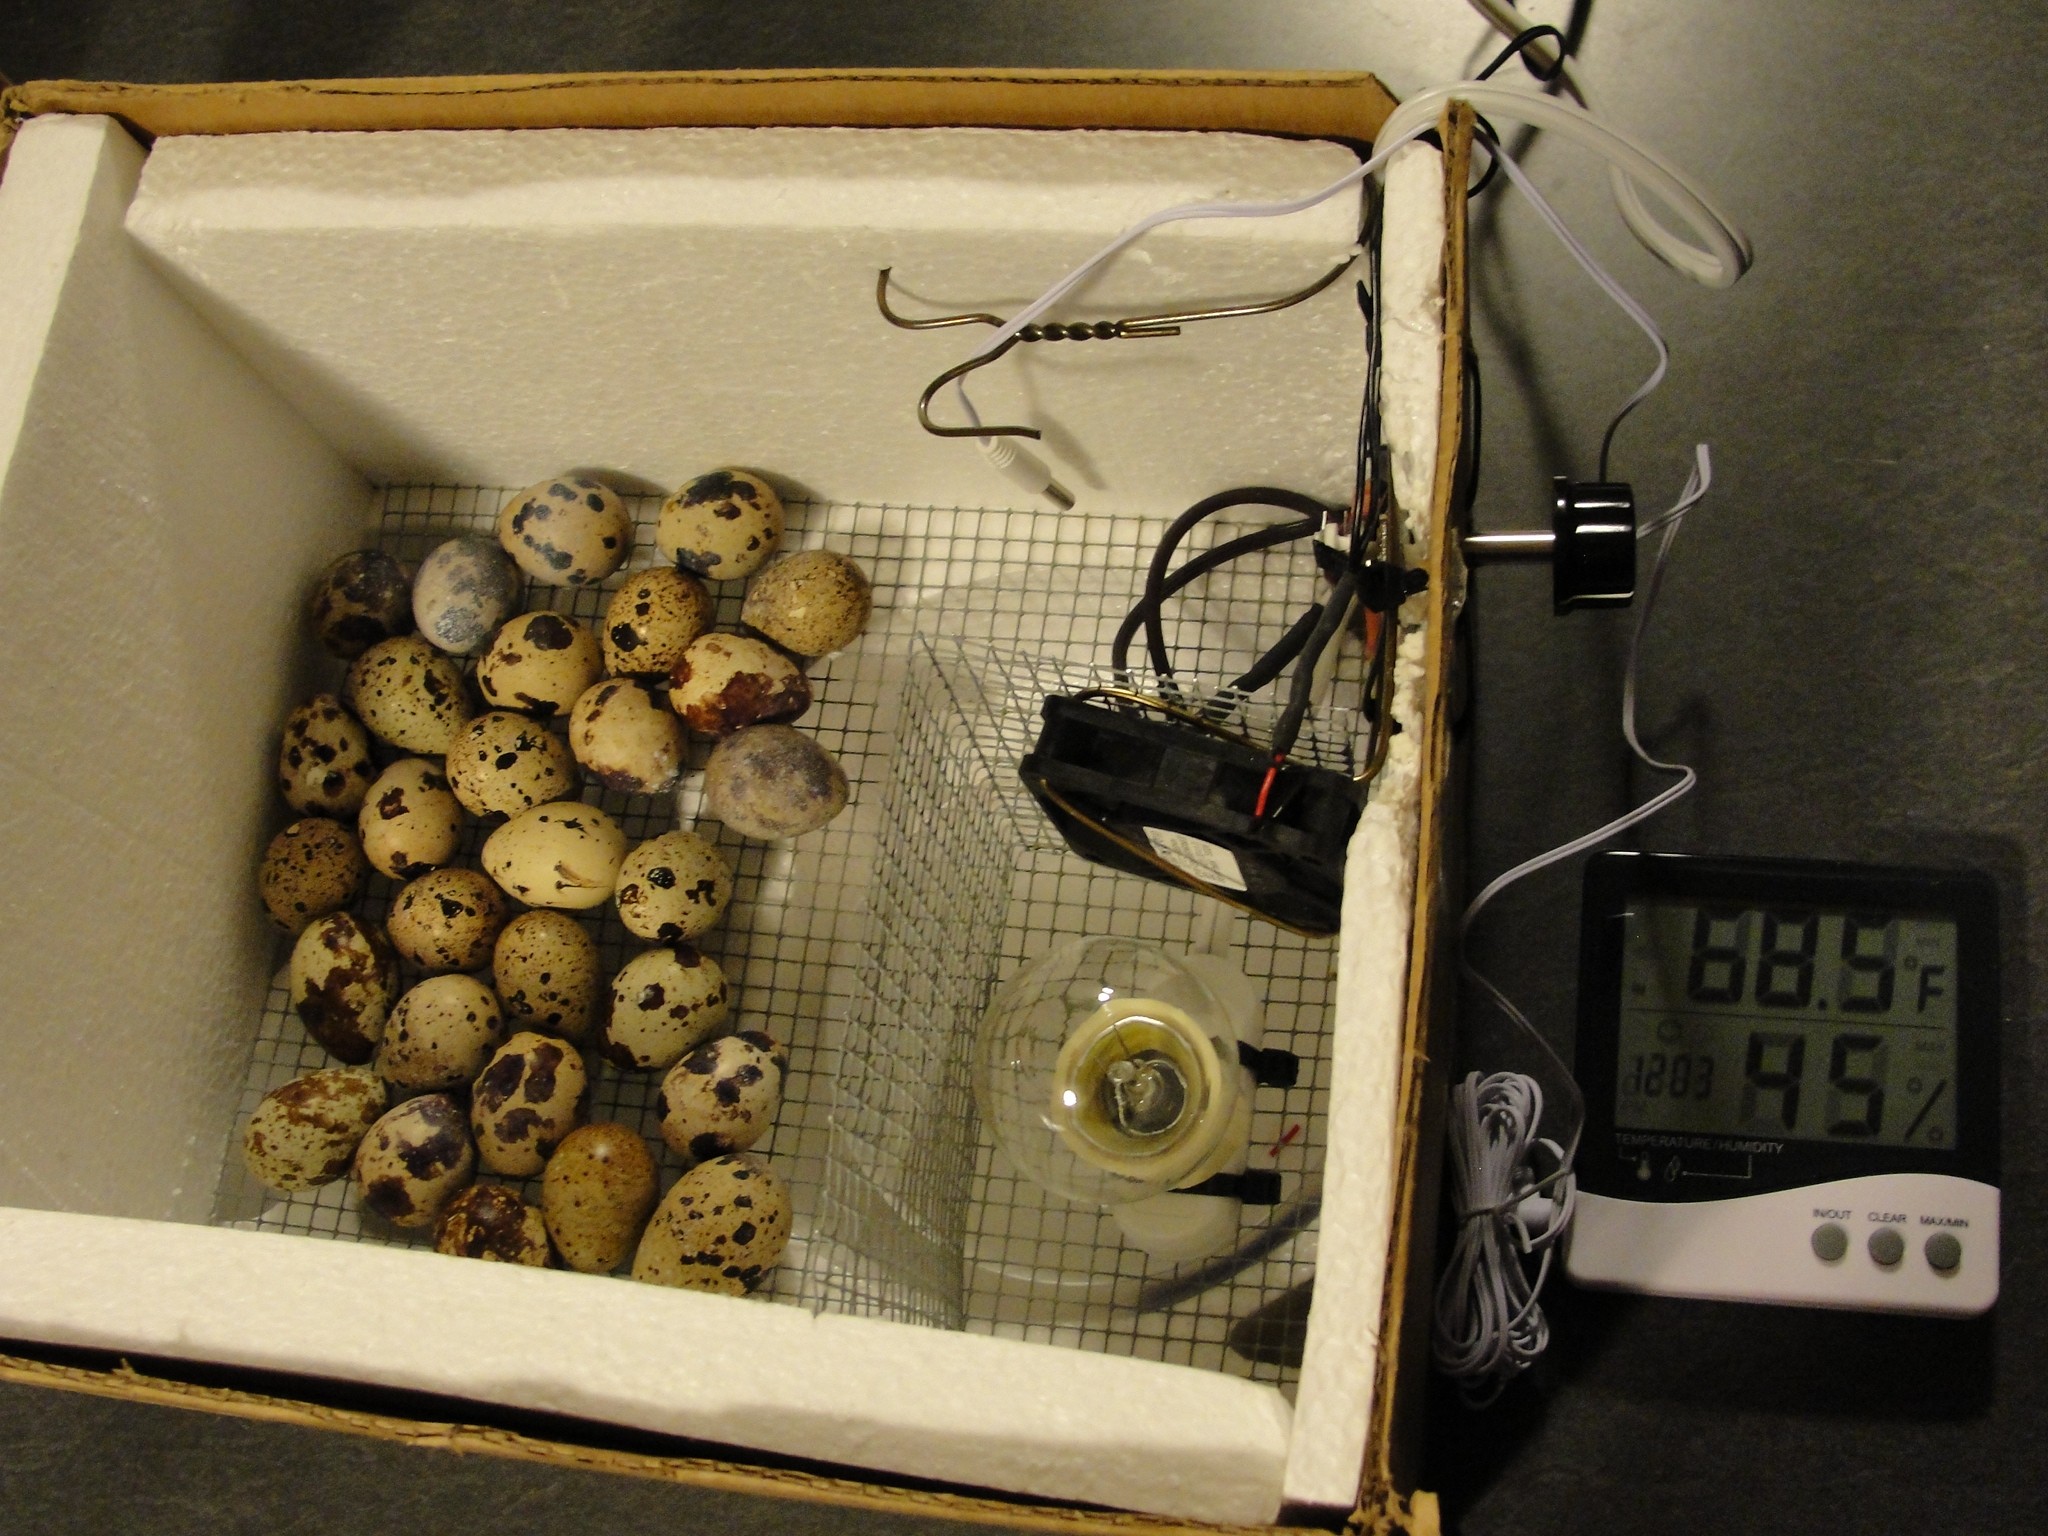
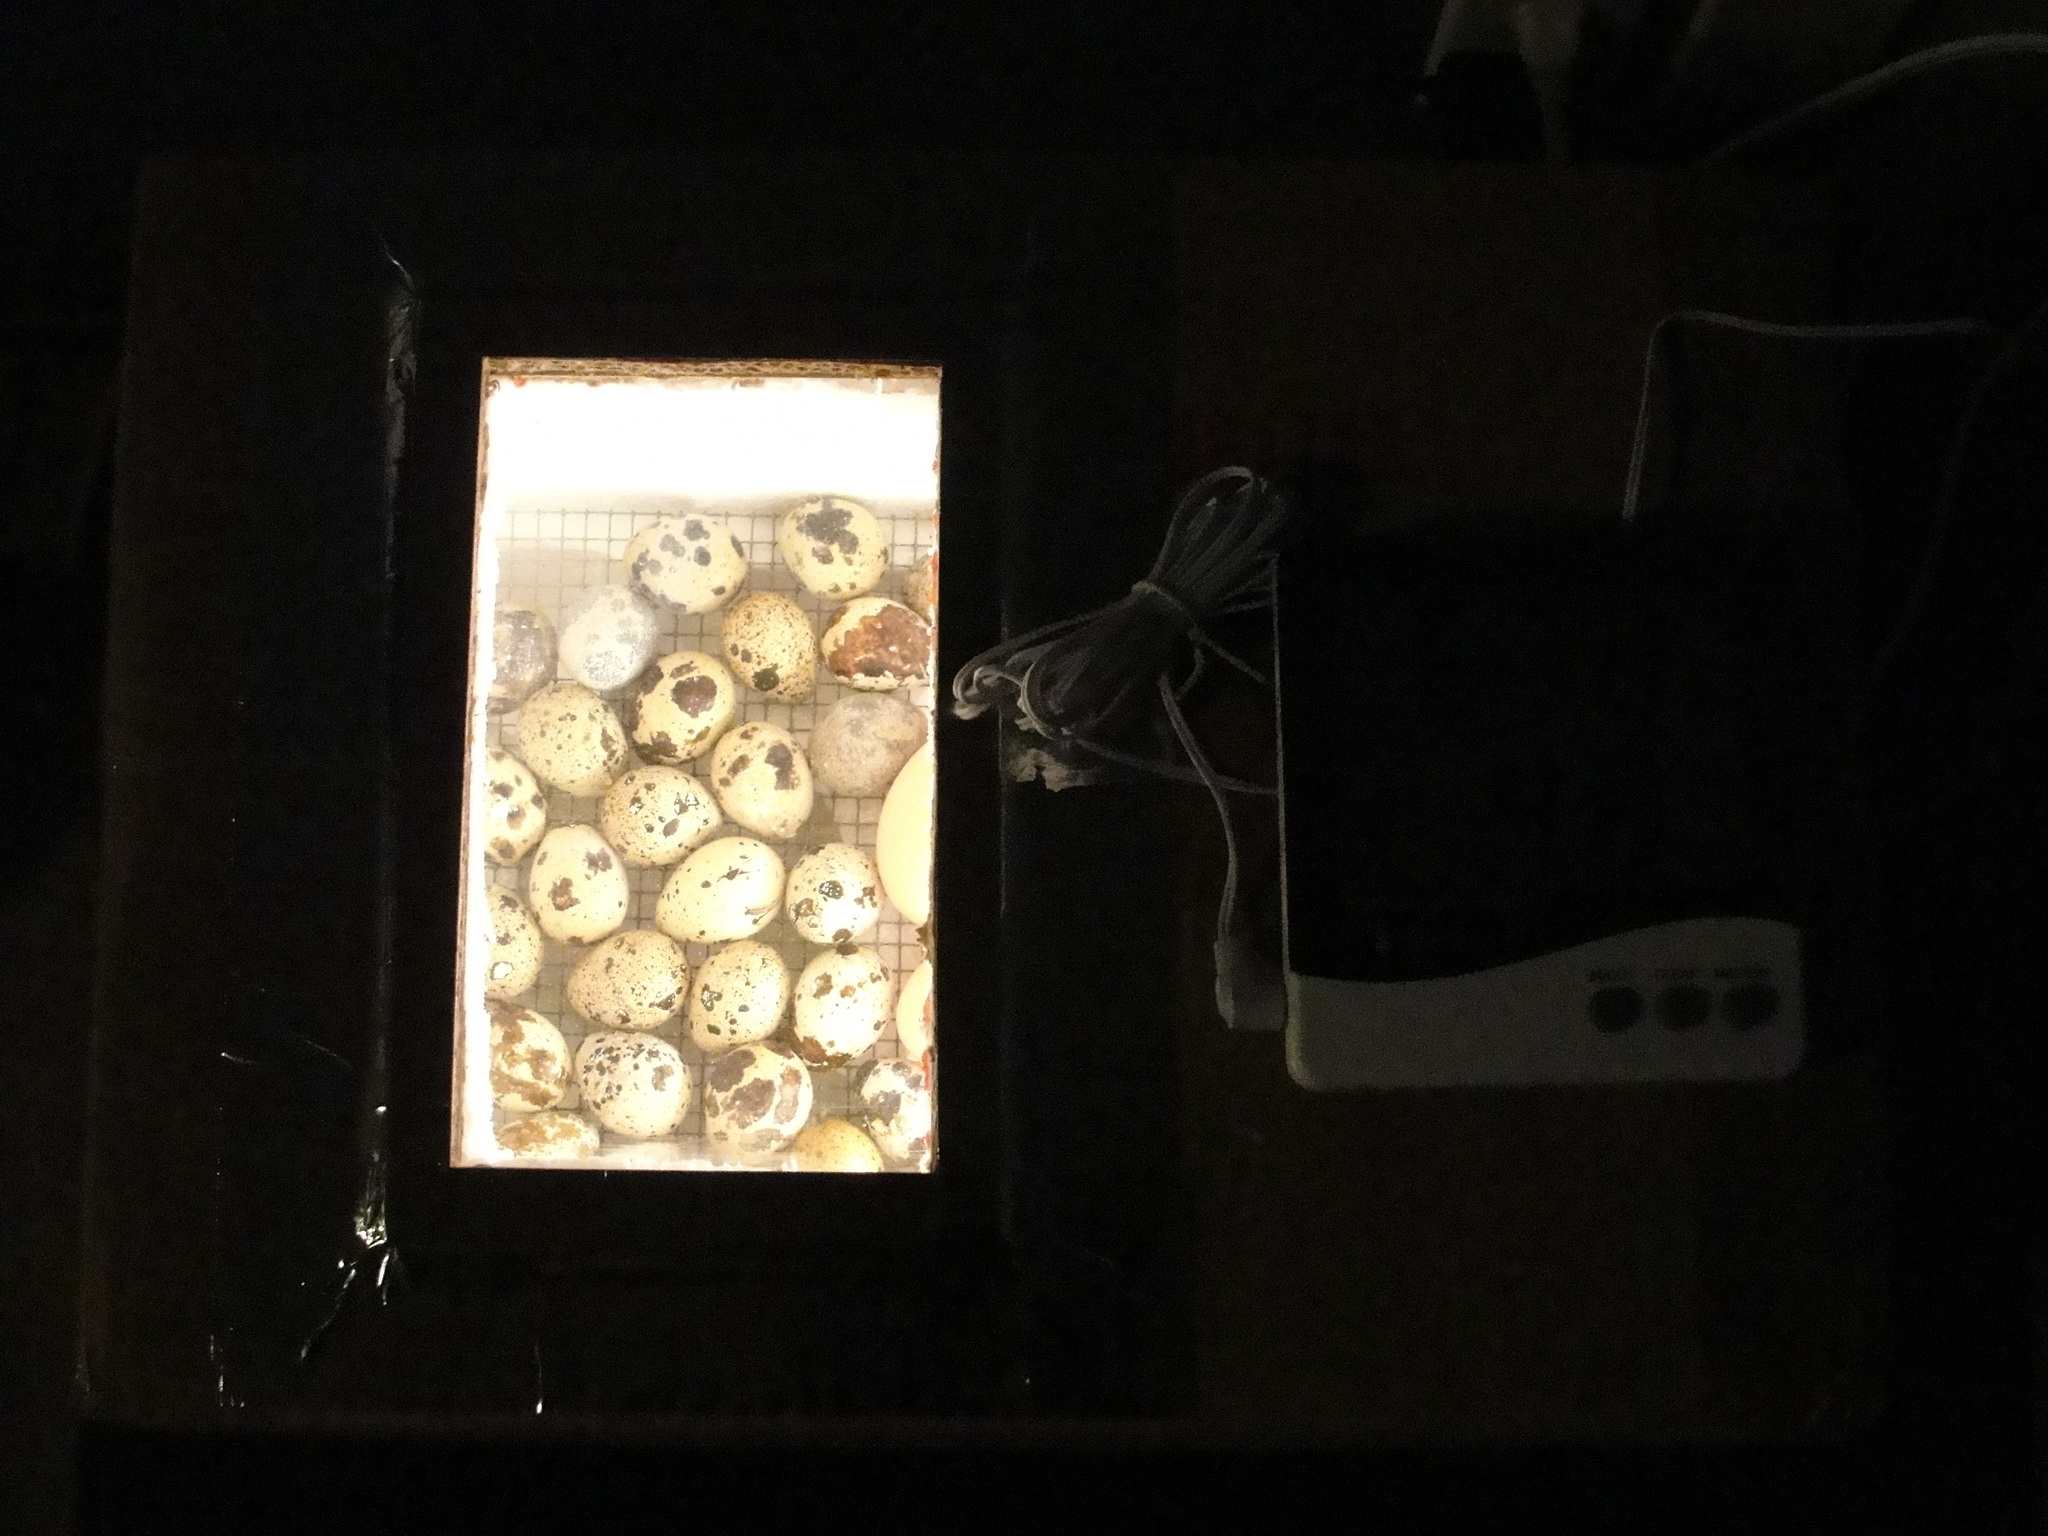
The incubator is a modified cardboard box lined with Styrofoam for insulation. It has a double paned viewing window made out of acrylic that is attached with Elmer’s glue, hot glue, and foil tape. The bottom contains a small plastic water bowl to control humidity. The eggs rest on 1/8th inch hardware cloth.
The heat itself is generated by a 40 Watt incandescent bulb which turns on and off automatically with the use of a thermostat purchased from www.incubatorwarehouse.com A small computer fan circulates the warm air in the container. The thermometer/hygrometer I bought for $10 at my local hydroponics shop.
I used this tutorial for the build and schematics http://www.youtube.com/watch?v=cu1UuLWfdAE
The 14 quails had been laying about 5 eggs a day prior to it getting cold outside. They decrease the amount of eggs they produce in the cold just like chickens. According to most internet sources, the eggs should be kept at 100 degrees F, at 50% humidity, and rotated twice a day for 17 days.
I’ll post a follow up when the 17 days are up.
Thanks for reading my blog! For the latest projects and updates please subscribe to my YouTube channel and follow along as I set up a sustainable homestead with my tiny house 🙂
